How to change strings on a Floyd Rose locking tremolo, the procedure that doesn't ruin the setup
Written with AI help · Updated
Changing strings on a Floyd Rose: block the bridge level with a tremolo block or folded business cards, unlock the locking nut, loosen the saddle clamp on the string you're replacing, cut the ball-end off the new string, clamp it at the saddle, tune up, stretch, retune, lock the nut once at pitch. Use the fine-tuners on the bridge for any final tweak. Single-string-at-a-time keeps the trem in plane and the other strings tuned. Total time: 30 to 45 minutes the first time, 15 minutes once you're comfortable.
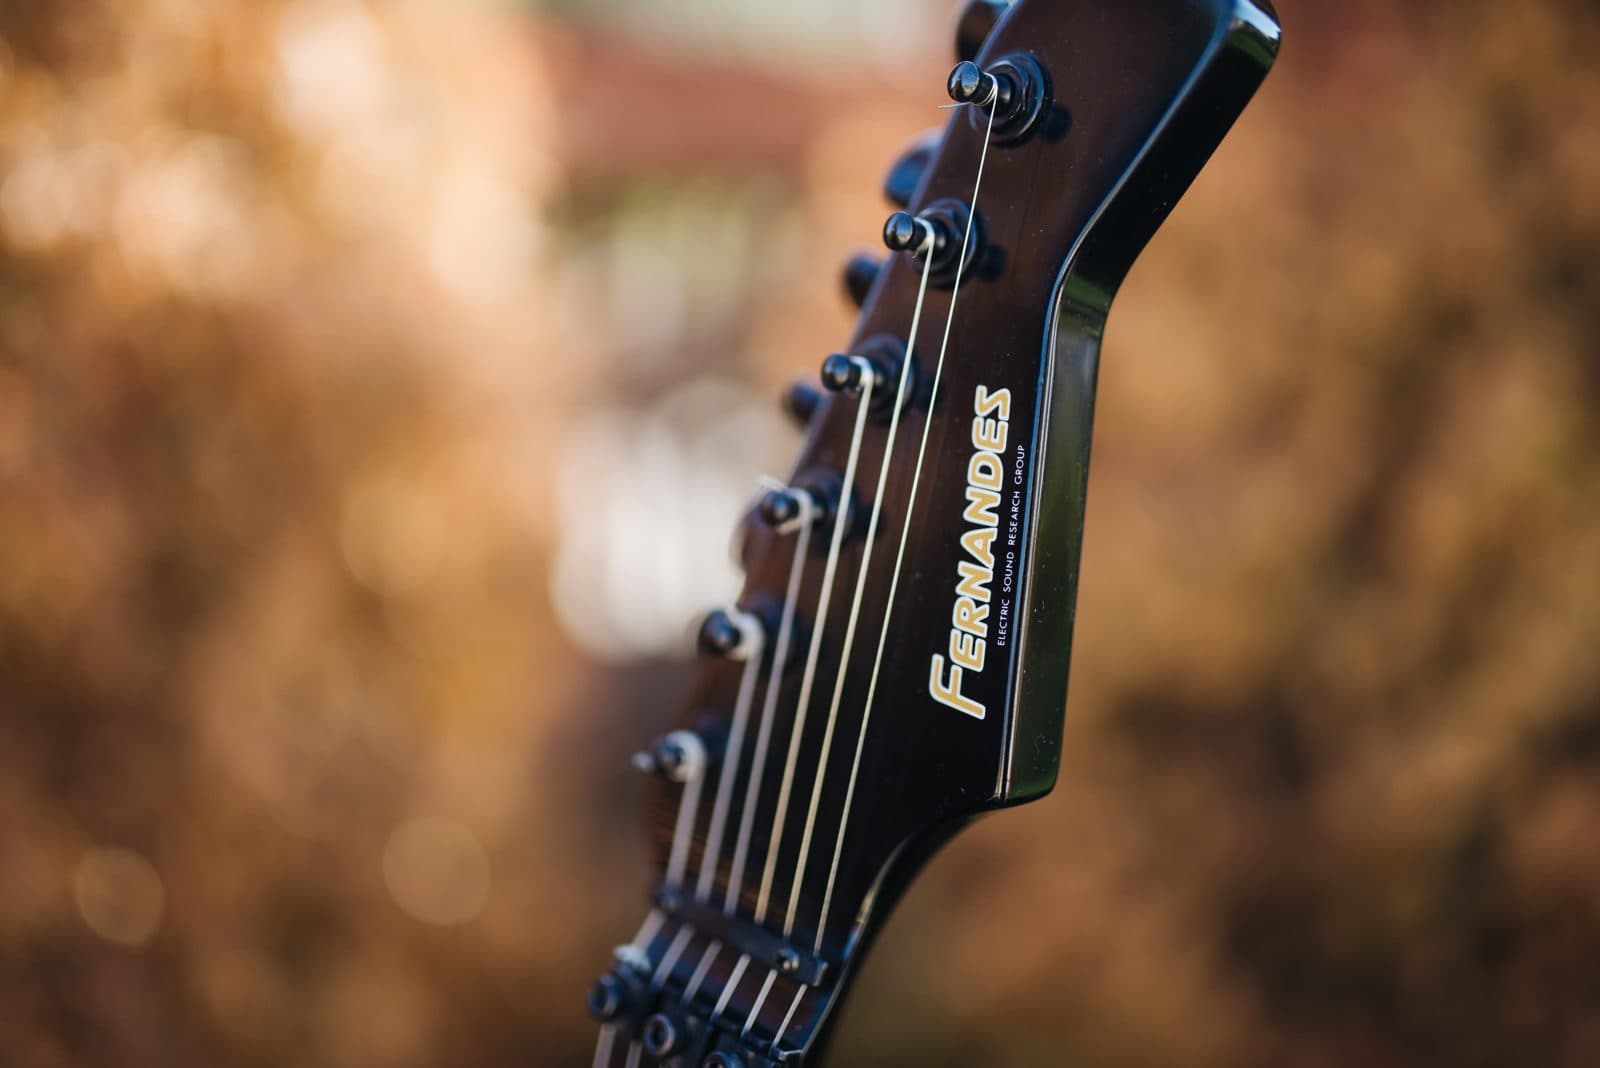
A Floyd Rose double-locking tremolo is a beautiful piece of engineering and a setup headache. The locking nut and the saddle clamps that give the bridge its dive-bombing tuning stability are the same parts that make string changes a 30-minute procedure instead of a 5-minute one. Done correctly, the bridge stays in tune for weeks. Done incorrectly, you can end up with the bridge tilted forward, intonation drifting, and the strings slipping at the saddle. The procedure below covers the canonical approach.
Why Floyd Rose string changes are different
Three things distinguish a Floyd Rose string change from a hardtail or trem-stop bridge change:
-
The bridge floats. It's balanced between string tension and spring tension. If you remove all strings at once, the bridge tips backward against the springs and you lose the reference plane. Single-string-at-a-time keeps the bridge level.
-
No ball-ends. Floyd Rose saddles clamp the string with a small allen-key bolt directly on the wound section. You cut the ball-end off every new string before installing. The string is held by the clamp's grip on the metal, not by a retainer post.
-
The locking nut. At the headstock end, three small clamping pads (with allen-key bolts) lock the strings against the nut shelf. While the nut is locked, turning the tuning peg can't change pitch. Unlock to change strings; re-lock once tuned to pitch; use the bridge fine-tuners for any final adjustment.
Relevant gear
The Floyd Rose comes with two allen wrenches in a small holder bolted to the back of the guitar. Most aftermarket Floyds use 3 mm at the saddle and 4 mm at the locking nut; some imports differ slightly. Verify the size on the wrenches that came with the guitar before starting.
Step-by-step procedure
How to change strings on a Floyd Rose double-locking tremolo
Step-by-step procedure for changing strings on a Floyd Rose-equipped electric guitar. Covers blocking the trem, unlocking the nut, clamping at the saddle, tuning up, stretching, re-locking, and using fine-tuners for final adjustment. Single-string-at-a-time methodology keeps the bridge in plane and the other strings tuned during the change.
- Time
- 45 min
- Cost
- ~$20 USD
- Tools
- 7
- Supplies
- 2
Tools
- Floyd Rose allen wrench set (3 mm saddle clamps, 4 mm locking nut, often included with the guitar)
- Side-cutters (Knipex or similar)
- String winder (any standard model)
- Tremolo block or folded business cards (to hold the bridge level)
- Tuner (clip-on like Snark, or pedal tuner)
- Cotton cloth for cleaning fretboard between strings
- Fretboard conditioner (Dunlop 65 lemon oil for rosewood; nothing for maple)
Supplies
- Fresh string set (matched gauge to current setup)
- Spare locking-nut pads (Floyd Rose part R7 or similar) in case the existing pads are stripped
- 01
Stage the guitar and verify tools
Place the guitar on a neck rest or padded surface. Loosen the strap. Lay out the new string set, side-cutters, and the two allen wrenches within reach. Confirm the allen sizes match the saddle clamps and locking nut on this specific guitar. Have the tremolo block or folded business cards ready to wedge under the bridge if needed.
- 02
Block the bridge if needed
If you're confident with single-string-at-a-time, you can skip the block, the other five strings hold the bridge in plane. If you want extra security, slide a tremolo block or two folded business cards between the bridge baseplate and the body, on the bridge end (away from the neck). The block holds the bridge from tipping backward when you remove the first string. The block doesn't need to be tight; it just needs to be in contact.
- 03
Unlock the locking nut on the string you're replacing
Identify the three locking-nut clamping pads. Each pad covers two strings. Use the 4 mm allen wrench to loosen the pad covering the string you're changing. Don't remove the pad bolt entirely, just loosen until the pad lifts off the string. Set the wrench down where you can grab it again easily.
- 04
Detune the string to slack
Use the tuning peg at the headstock to detune the string until it's slack. The peg only works because the locking nut pad is loose; if you skipped step 3, the peg won't change pitch. Detune fully, you want zero tension on the string before unclamping at the saddle.
- 05
Unclamp at the saddle
Use the 3 mm allen wrench (smaller of the two) to loosen the saddle-clamp bolt on the string you're replacing. The bolt presses a small block down onto the string inside the saddle. Loosen until the block lifts; don't remove the bolt entirely (it can drop into the bridge mechanism and be a pain to retrieve). Pull the old string out of the saddle. Discard the old string.
- 06
Clean the exposed fretboard section
With one string off the fretboard, you have a window to wipe the exposed wood. Use a dry cotton cloth on the playing zone and frets. For rosewood and ebony, a tiny drop of Dunlop 65 lemon oil per string position is OK; for maple, use a dry cloth only. Skip lubricant on the nut shelf; the locking nut doesn't need it.
- 07
Cut the ball-end off the new string
Take the new string out of its envelope. Identify the ball-end (the small brass cylinder anchored at one end). Use side-cutters to cut the string about 1 inch from the ball-end, removing the ball-end and a short tail of wound section. The cut should be clean, a frayed cut doesn't clamp well. The exposed core wire (if you cut into the wound section) gives the saddle clamp a strong bite.
- 08
Insert the new string into the saddle and clamp
Push the cut end of the string into the saddle, oriented so the wound length runs back toward the headstock. Slide the string into the slot under the clamp block. Hold the string in place with one hand and tighten the saddle clamp bolt with the 3 mm allen wrench until the bolt is snug, firm enough that the string can't pull out by hand, then a quarter turn more. Don't torque it; over-tightening strips the threads or crushes the saddle.
- 09
Route the string through the locking nut and tuning peg
Pull the string straight back along the neck, over the locking nut shelf (the metal block where the nut clamps live), and up to the headstock. Insert the loose end through the tuning peg's string hole. Pull most of the slack through, leaving 2-3 inches of free string at the peg for windings.
- 10
Tune the string up to pitch
With the locking nut still loose on this string's pad, turn the tuning peg to wind the string onto the post. Aim for 3-4 windings, with each successive winding sitting below the previous one. Tune up to standard pitch using the clip-on or pedal tuner. The string is now under tension; the bridge will tilt slightly forward as tension comes back.
- 11
Stretch the new string aggressively
Press the string down at the 12th fret and pull up about 1 inch. Release. Tune back to pitch. Repeat. Floyd Rose-mounted strings need significantly more stretching than hardtail strings, because the saddle clamp doesn't compress the string the same way a ball-end does, and any slack in the wind unwinds itself once the saddle clamp grips. Plan on 5-7 stretches per string the first time. The string holds pitch when stretching no longer drops it.
- 12
Re-lock the nut once the string is at pitch
Once the string holds pitch through stretching, use the 4 mm allen wrench to re-tighten the locking nut pad over the string. Tighten until snug, the pad should clamp the string firmly against the nut shelf, but don't crank it. After re-locking, the tuning peg can no longer change the string's pitch; that's the point. Final adjustments will come from the bridge's fine-tuners.
- 13
Use the bridge fine-tuners to nail final pitch
On the bridge, locate the fine-tuner thumbscrews behind the saddles (one per string). Each thumbscrew turns the saddle clamp's mounting block forward or backward in tiny increments, changing the string's effective length and pitch by ±10 cents or so. Turn the thumbscrew while watching the tuner until the string reads exactly at pitch. Repeat for each string after re-locking the nut.
- 14
Repeat for the remaining strings
Move to the next string and repeat steps 3 through 13. Working order is up to you, but most techs change the low E and high E first (the outer strings) so the bridge stays balanced, then work inward. The whole procedure runs ~5-7 minutes per string once you've done it a few times.
- 15
Verify bridge balance and recheck tuning
After all six strings are installed and tuned, remove any tremolo block. The bridge should sit parallel to the body, with the baseplate's bottom edge sitting on the body's recess. If the bridge is tilted forward, tighten the spring claw screws (in the back of the guitar) a half-turn each side. If tilted backward, loosen them. Adjust until the baseplate is parallel. Final tuning pass with the fine-tuners. Check intonation at the 12th fret on each string; if any read sharp or flat by more than a few cents, the saddle position needs to be moved (see Floyd Rose intonation guide, queued).
Common mistakes the procedure prevents
-
Removing all strings at once. The bridge collapses backward; you spend 30 minutes getting it back to plane. Always single-string-at-a-time.
-
Forgetting to cut the ball-end. The ball-end blocks the saddle clamp's contact zone. The clamp won't grip; the string slips during tuning and won't hold pitch. Always cut.
-
Over-tightening the saddle clamp. Strips the bolt threads, crushes the saddle, or both. Snug plus a quarter turn is enough.
-
Locking the nut before the string holds pitch. The string drops below pitch within minutes; you have to unlock, re-tune, re-lock. Stretch fully first; lock only when the string holds.
-
Ignoring bridge balance. The bridge sits parallel to the body when the spring claw is set correctly. If you skipped the balance check, intonation drifts and the trem doesn't return to pitch after dives. Always verify after the change.
Recovery: the bridge tilted forward, now what?
If you removed too many strings at once and the bridge tilted forward into the body's neck recess:
- Place the guitar face-up on a padded surface.
- Detune all currently-installed strings to slack so spring tension dominates briefly.
- Tighten the spring claw screws on the back of the guitar a half-turn each side. The springs pull the bridge backward.
- Re-tune the strings. The string tension pulls the bridge forward.
- Iterate (claw vs string tension) until the bridge baseplate sits parallel to the body.
The balance is a tug-of-war between strings and springs. Both sides have to be in the right ballpark; neither can be overpowered.
What this procedure does NOT cover
- Floyd Rose intonation adjustment, separate procedure with its own tools
- Replacing the locking nut itself, luthier-grade work
- Replacing saddle clamps or nut pads, Floyd Rose part numbers (R7, R3, etc.) get specific
- Original Floyd Rose vs licensed Floyd Rose differences, a separate review
Strings to put on the Floyd

Regular Slinky (.010–.046)
Why this one: The most commonly Floyd-mounted electric set. .010–.046 fits a stock Floyd Rose without nut-slot filing. The default Floyd-rig string we recommend before stepping to heavier gauges for Drop tunings.
Related
- Precision nut filing for heavy-gauge strings, the complementary HowTo for non-locking nuts
- Heavy-gauge electric string install, the broader install procedure for non-Floyd guitars
- Regular Slinky (.010-.046) review, the most commonly Floyd-mounted gauge
- Not Even Slinky Cobalt (.012-.056), heavier-gauge option for Drop B Floyd Rose setups
Frequently asked questions
Why is changing strings on a Floyd Rose harder than a hardtail?
Three reasons. First, the bridge floats, it's balanced between the string tension pulling forward and the spring tension pulling back, so removing all strings at once collapses the bridge backward and intonation drifts. Second, the saddles clamp the string directly with a small allen-key bolt instead of using ball-ends, so you have to cut the ball-end off every new string. Third, the locking nut at the headstock end clamps the strings down so you can't just turn the tuning peg to change pitch, you have to unlock the nut, change pitch, re-lock the nut, then use the bridge's fine-tuners for any small adjustment. Each of these is solvable; the procedure below covers all three.
Do I need to remove all the strings at once?
No, and you shouldn't. Change one string at a time. The bridge stays in plane because the other five strings hold tension. If you remove all six at once, the bridge tilts back, the string break-angle changes, and re-tuning takes 5x longer. Single-string-at-a-time also keeps you within reach of the fine-tuners on the bridge so you don't need to make as many trips between the headstock locking nut and the bridge.
What's a tremolo block? Do I need one?
A tremolo block is a small wedge of wood, plastic, or rubber that you put under the bridge baseplate to hold the bridge level while you change strings. You don't strictly need one if you change strings one at a time (the other strings hold tension), but it makes the procedure easier and forgiving. A folded business card or two works in a pinch. Stewmac and Hipshot both sell purpose-built blocks; the one you have lying around is fine for most purposes.
Why do I have to cut the ball-end off the new string?
Floyd Rose saddles use a clamp instead of a ball-end retainer. The string passes through the saddle and gets pinched by an allen-key bolt that presses down on the wound section. The ball-end is in the way of the clamp's contact zone, so you cut it off about an inch from the end with side-cutters. The exposed core wire is what gets clamped. Some players cut a half-inch back into the wound section to expose more core; either method works as long as the clamp is contacting metal.
How tight do I tighten the saddle clamp bolt?
Snug, not torqued. The bolt is small (typically 3 mm allen) and over-tightening strips the threads or crushes the saddle. Tighten until the string can't be pulled out by hand, then a quarter turn more. If the string slips during tuning, snug a tiny bit more; don't crank it.
Why is the bridge not sitting parallel to the body anymore?
Floyd Rose bridges are balanced between string tension forward and spring tension back. If the bridge is tilted forward (toward the neck), the spring tension is too low, tighten the claw screws in the back of the guitar a half-turn each side. If the bridge is tilted backward (toward the bridge end of the body), spring tension is too high, loosen the claw screws. Adjust in small increments; the bridge moves a lot per turn. The target: bridge baseplate parallel to the body.
How long does the whole procedure take?
First time: 30 to 45 minutes. Once you've done it 3-5 times: 15-20 minutes. The variable is the stretching pass, which catches new players because Floyd Rose-mounted strings need more stretching than a hardtail. Plan extra time on your first change.